written by
ted
1/1/2025
0
Custom SSL Certificates on Coolify
Coolify is a self hosted replacement for services such as Vercel. With Coolify, you can self host your web applications, databases and popular Docker based images. Coolify lets you have control over your architecture without compromising on performance or security, by allowing features such as load balancing with multiple Coolify instances.
But, it is 2026, and it is essential your website is using the https protocol - which requires you to obtain a publicly trusted SSL certificate.
In this guide, I’ll guide you through the basis, such as what an SSL certificate even is, to the advanced, such as further exploring other options such as Cloudflare Origin Certificates, but most importantly how to get start using an SSL certificate with Coolify.
Table of Contents
Let’s get started with the basics first.
The Basics
What is Coolify?
Coolify is an alternative to platforms such as Vercel, GCP and AWS. It allows you to self host your own infrastructure, such as your web apps and databases. It also have many great features which allows for advanced functionality such as load balancing. Coolify lets you control your own data and costs.
What is an SSL certificate?
An SSL certificate is needed to use the https protocol, which allows for the connection between you and the server to be encrypted, to stop strange people from spying on your internet. If you do not have one - nowadays - your users will see a big warning. If you have setup HSTS, then they won’t even be able to proceed to your site. Depending on what you do, you may be required to serve web content with an SSL certificate for compliance.
But, you can’t just make a certificate - at least not a trusted one. In (nearly) every device there is a Trusted Certificate Store which has been added by your device’s manufactures. This store is a curated list of root certificates of trusted Certificate Authorities. It’s hard to get on these lists, because if you do get on it you can create certificates which is see as trusted on domains you don’t have control over, allowing you the ability to spy on people’s internet activity. In addition, most types of certificates cost money. Luckily, over the past few years a few different options have emerged for requesting certificates which are widely trusted.
Ultimately, the infrastructure of SSL certificates is quite advanced, but helps keep the internet safe. Now that we understand what an SSL certificate is, we can now request one.
Generating an SSL certificate
With acme.sh CLI
We can request an SSL certificate using the acme.sh CLI. To reduce any form of downtime and to enable auto renewals, I will use DNS challenges via the DNS API. See here for all the supported APIs and documentation on how to use them, but for this guide I will use Cloudflare.
We can begin by creating the directory we will install the certificates into.
mkdir -p /data/coolify/proxy/certsInstall the CLI.
curl https://get.acme.sh | sh -s [email protected]We need to generate an API token from Cloudflare. Navigate here. Use the Edit zone DNS template. Make sure to include all zones where you want a certificate to be issued to.
Once you have obtained your API token, export it to the environment.
export CF_Token="CF_API_TOKEN"We also need to give the CLI our Cloudflare Account ID, which we can find in the URL of any page within your selected account.
 The Cloudflare Dashboard URL, with the Account ID proceeding the first / highlighted.
Similar to the API token, export this ID to the enviroment.
export CF_Account_ID="CF_ACC_ID"Now, let’s request the certificate. In this certificate, I will add the domain and a wildcard subdomain, which in most cases is all you will need.
acme.sh --issue --dns dns_cf -d ted.ac -d '*.ted.ac'To allow for automatic renewals, we can use the CLI to install the certificate into the Coolify proxy directory for us.
acme.sh --install-cert -d ted.ac \
--cert-file      /data/coolify/proxy/certs/domain.cert  \
--key-file       /data/coolify/proxy/certs/domain.key
Cloudflare Origin Certificate
Alternatively, you don’t need to use a trusted SSL certificate if you will be proxying all your traffic through Cloudflare. You can create a Cloudflare Origin Certificate which only Cloudflare will trust, which guarantees a encrypted connection between Cloudflare and your server. In this case, Cloudflare will handle your trusted certificate - most likely from GTS - so only the origin certificate needs to be installed. There are some benefits to using an Origin Certificate:
- Guarantees encrypted connection between Cloudflare and your server.
- A long validity period - up to 15 years, rather then 1-12 months with a normal certificate.
- You can block all HTTP traffic, only allowing connections which are willing to trust the Origin Certificate.
But, this does mean that if Cloudflare goes down in a significant enough capacity, nobody will be able to access your site - but this isn’t realistic as a global Cloudflare outage like this is rare. Also, if you want to use more then one subdomain level you will need to buy the Advanced Certificate Manager subscription which allows for Total TLS.
We can begin by creating the directory we will install the certificates into.
mkdir -p /data/coolify/proxy/certsHead to the Cloudflare Dashboard and navigate to your zone. Then, navigate to the Origin Server tab under the SSL/TLS category.
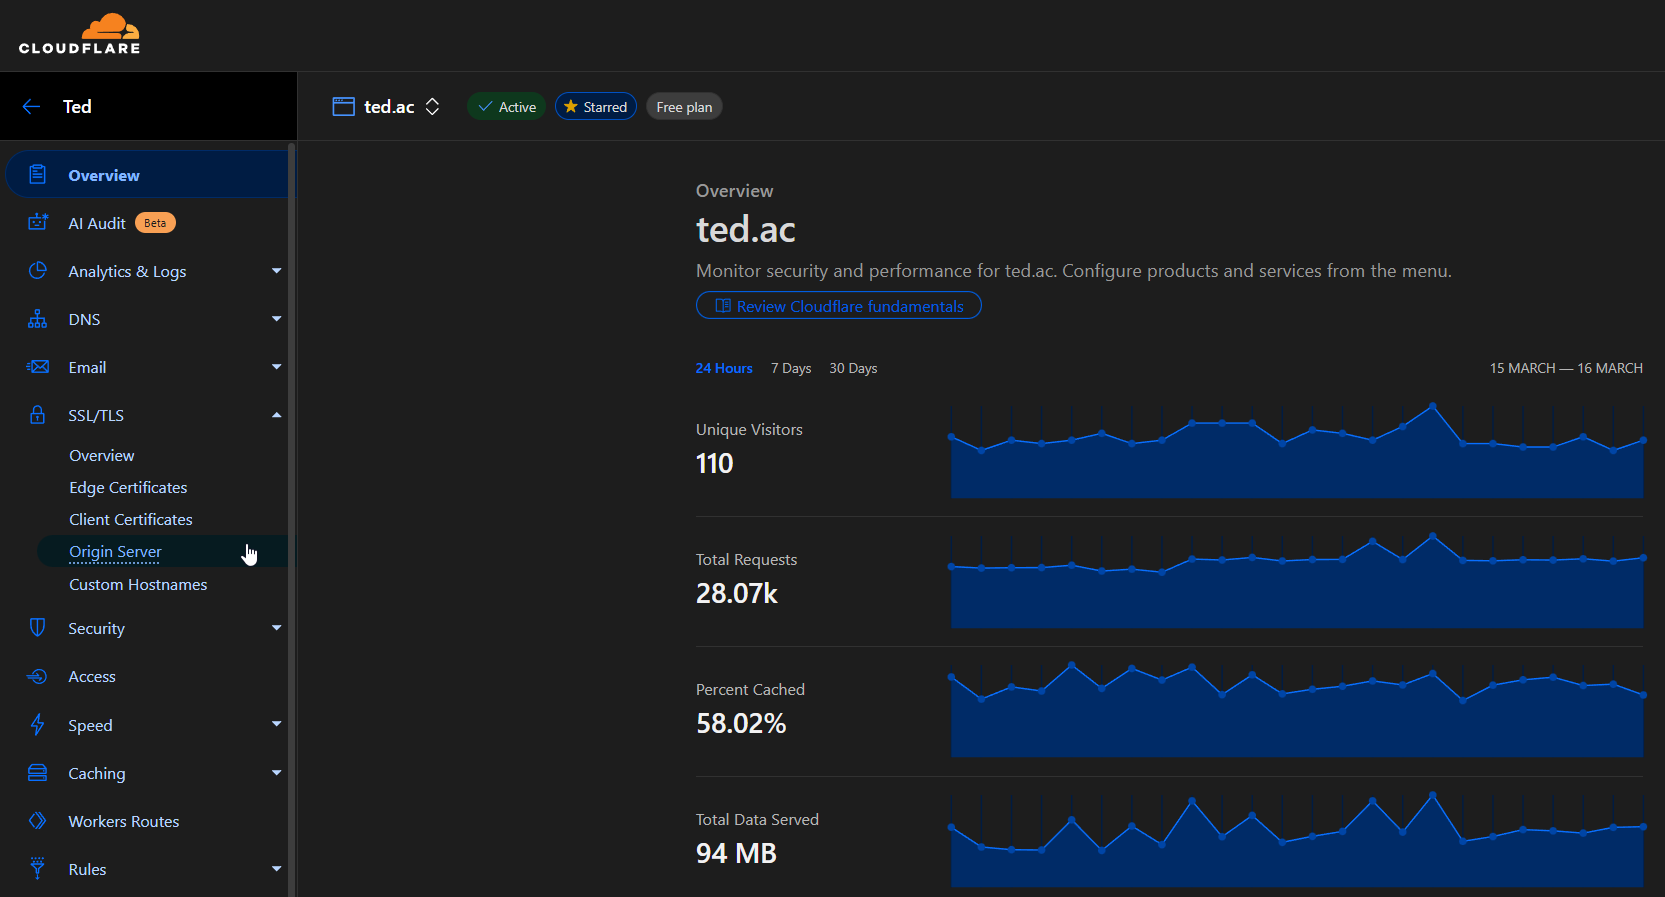 The Cloudflare Dashboard inside the zone ted.ac on the home page.
Now, create the new certificate.
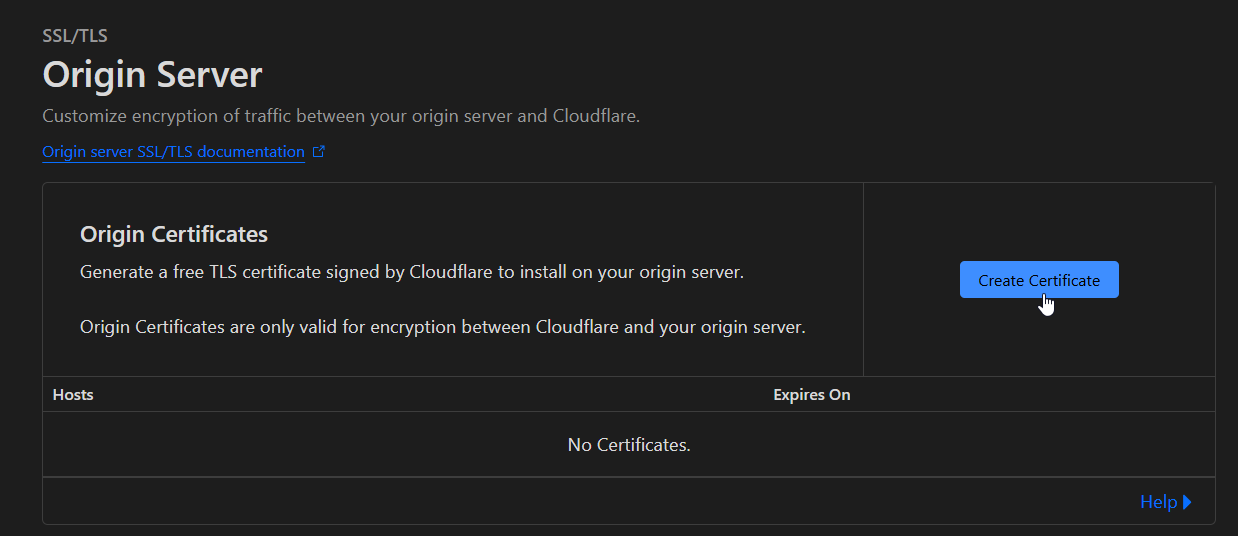 The Origin Server page with a cursor hovering over the Create Certificate button,
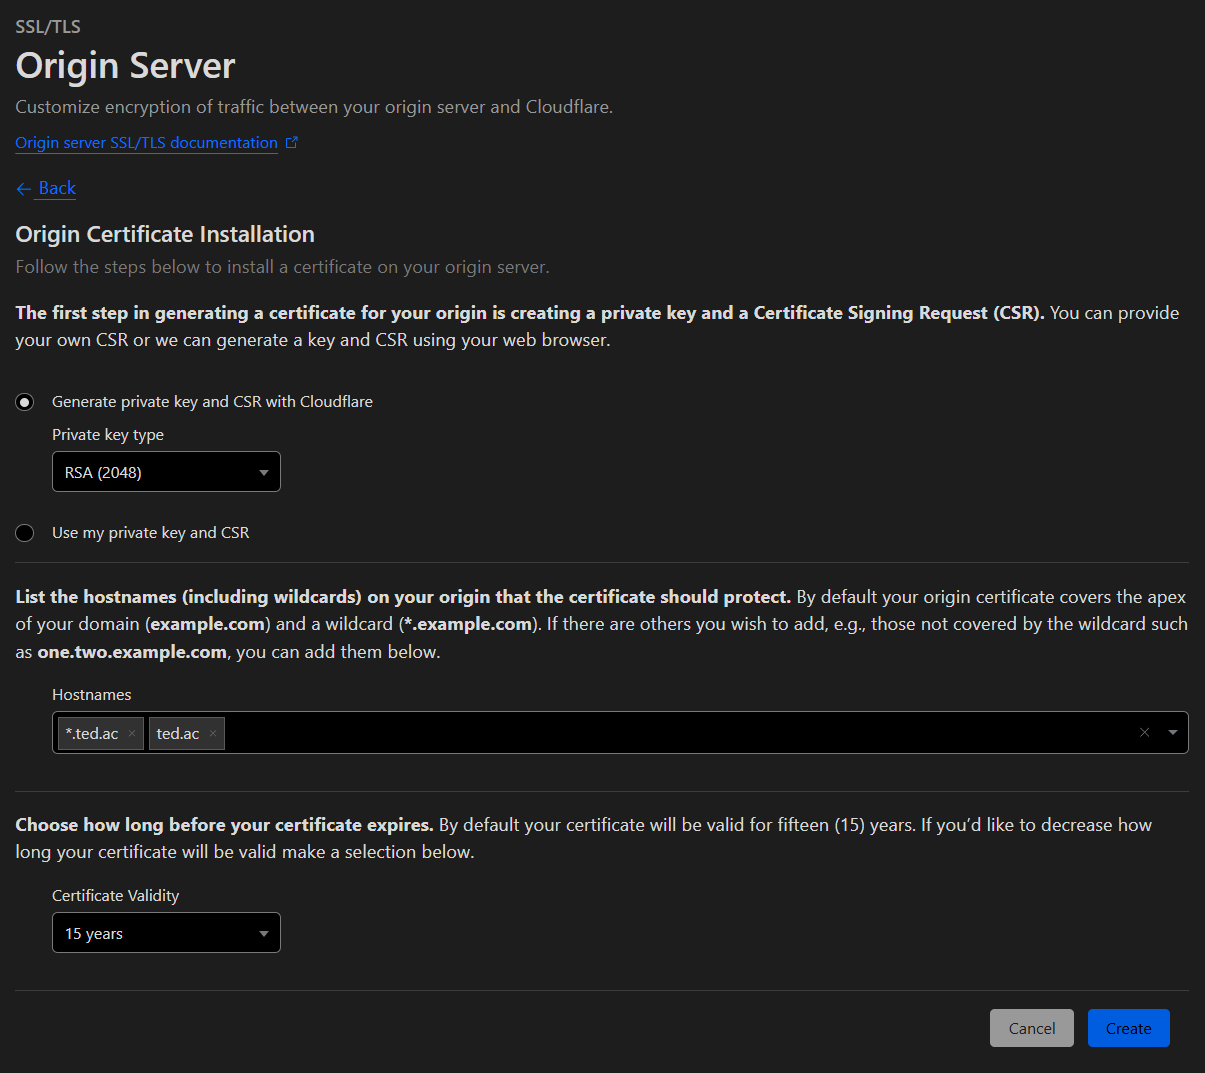 The Origin Server Create Certificate page with the default settings selected.
Copy the Origin Certificate and save it to a
origin.certfile. In addition, copy the Private Key and save it to aorigin.keyfile.Upload it to the certs directory using your favourite protocol, like SCP or SFTP. We should now have two files:
ls /data/coolify/proxy/certs
# origin.cert & origin.key
Using the SSL certificate
Up to this point now, you will either have a trusted SSL certificate or a Cloudflare Origin Certificate - now installed into the /data/coolify/proxy/certs directory. We now need to create a configuration file to tell Coolify’s proxy to use it.
We firstly need to create a configuration file.
mkdir -p /data/coolify/proxy/dynamic
touch /data/coolify/proxy/dynamic/cert.yaml
Edit this file with your favourite editor.
nano /data/coolify/proxy/dynamic/cert.yamlFinally, add the configuration.
tls:
  certificates:
	# Trusted SSL Certificate
    - certFile: /traefik/certs/domain.cert
      keyFile: /traefik/certs/domain.key
    # Cloudflare Origin Certificate
    - certFile: /traefik/certs/origin.cert
      keyFile: /traefik/certs/origin.key
Careful, the
/traefikdirectory is the same as/data/coolify/proxybecause it is a mounted volume in the container.
Alternatively, you could also create the configuration file through the UI in Servers > yourServer > Proxy > Dynamic Configuration.
Conclusion
Congratulations, your web applications should now be serving with a trusted SSL certificate or Cloudflare Origin Certificate. This is one step in the right direction to ensuring encrypted communication between your users and your infrastructure. If you need assistance, don’t hesitate to send me a message.